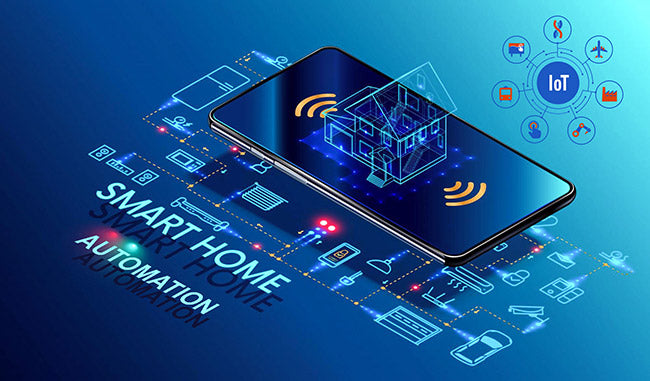
Smart Home Automation System
Share
Creating an interactive project with Arduino or Raspberry Pi can be a fun and educational experience. One popular project idea is building a smart home automation system. This project can include various features such as controlling lights, monitoring temperature and humidity, and controlling other household devices via a mobile app or a web interface.
Project Overview
Components Needed:
For Arduino:
- Arduino Uno or any compatible board
- Relay module
- DHT11 or DHT22 temperature and humidity sensor
- LEDs and resistors
- Jumper wires
- Breadboard
- 16x2 LCD display (optional)
- Wi-Fi module (ESP8266 or similar) or Ethernet shield
- Smartphone or computer for control interface
For Raspberry Pi:
- Raspberry Pi (any model with Wi-Fi capability, such as Pi 3, Pi 4, or Pi Zero W)
- Relay module
- DHT11 or DHT22 temperature and humidity sensor
- LEDs and resistors
- Jumper wires
- Breadboard
- 16x2 LCD display (optional)
- Smartphone or computer for control interface
Step-by-Step Guide:
1. Setting Up the Hardware
For Arduino:
- Connect the DHT11/DHT22 sensor to the Arduino:
- VCC to 5V
- GND to GND
- Data pin to a digital pin (e.g., D2)
- Connect the relay module to the Arduino:
- VCC to 5V
- GND to GND
- Control pin to a digital pin (e.g., D8)
- Connect the appliance (e.g., a lamp) to the relay output.
- (Optional) Connect the 16x2 LCD display:
- Use the LiquidCrystal library to interface the LCD with the Arduino.
- Connect LEDs with resistors to digital pins (e.g., D3 for red, D4 for green).
For Raspberry Pi:
- Connect the DHT11/DHT22 sensor to the Raspberry Pi GPIO pins:
- VCC to 3.3V (pin 1)
- GND to GND (pin 6)
- Data pin to a GPIO pin (e.g., GPIO4)
- Connect the relay module to the Raspberry Pi GPIO pins:
- VCC to 3.3V (pin 1)
- GND to GND (pin 6)
- Control pin to a GPIO pin (e.g., GPIO17)
- Connect the appliance to the relay output.
- (Optional) Connect the 16x2 LCD display using I2C or directly with GPIO pins.
2. Programming the Microcontroller
For Arduino:
1. Install the necessary libraries:
- DHT sensor library
- WiFi or Ethernet library for network communication
- LiquidCrystal library (if using an LCD)
2. Write the Arduino code to:
- Read data from the DHT sensor.
- Control the relay based on sensor data or commands from the control interface.
- Display data on the LCD (if used).
- Communicate with the smartphone/computer via Wi-Fi/Ethernet.
Example Arduino Sketch
#include <DHT.h>
#include <ESP8266WiFi.h> // Use WiFi.h for Ethernet shield
#include <LiquidCrystal.h> // Only if using an LCD
#define DHTPIN 2
#define DHTTYPE DHT11
DHT dht(DHTPIN, DHTTYPE);
const char* ssid = "your_SSID";
const char* password = "your_PASSWORD";
WiFiServer server(80);
void setup() {
Serial.begin(115200);
dht.begin();
pinMode(8, OUTPUT); // Relay pin
WiFi.begin(ssid, password);
while (WiFi.status() != WL_CONNECTED) {
delay(1000);
Serial.println("Connecting to WiFi...");
}
server.begin();
Serial.println("Connected to WiFi");
// Initialize LCD (if used)
// lcd.begin(16, 2);
}
void loop() {
float h = dht.readHumidity();
float t = dht.readTemperature();
if (isnan(h) || isnan(t)) {
Serial.println("Failed to read from DHT sensor!");
return;
}
Serial.print("Humidity: ");
Serial.print(h);
Serial.print(" %\t");
Serial.print("Temperature: ");
Serial.print(t);
Serial.println(" *C");
// Control the relay
if (t > 25.0) { // Example condition
digitalWrite(8, HIGH);
} else {
digitalWrite(8, LOW);
}
// Serve web interface (simplified example)
WiFiClient client = server.available();
if (client) {
client.println("HTTP/1.1 200 OK");
client.println("Content-Type: text/html");
client.println();
client.println("<!DOCTYPE HTML>");
client.println("<html>");
client.println("<p>Temperature: " + String(t) + " *C</p>");
client.println("<p>Humidity: " + String(h) + " %</p>");
client.println("</html>");
client.stop();
}
}
For Raspberry Pi:
1. Install necessary libraries:
- Adafruit_DHT library
- Flask for web server
- RPi.GPIO for GPIO control
2. Write the Python code to:
- Read data from the DHT sensor.
- Control the relay based on sensor data or commands from the web interface.
- Display data on the LCD (if used).
- Set up a Flask web server for the control interface.
Example Python Script:
import Adafruit_DHT
import RPi.GPIO as GPIO
from flask import Flask, render_template
app = Flask(__name__)
DHT_SENSOR = Adafruit_DHT.DHT11
DHT_PIN = 4
RELAY_PIN = 17
GPIO.setmode(GPIO.BCM)
GPIO.setup(RELAY_PIN, GPIO.OUT)
@app.route('/')
def index():
humidity, temperature = Adafruit_DHT.read(DHT_SENSOR, DHT_PIN)
if humidity is not None and temperature is not None:
return render_template('index.html', temp=temperature, hum=humidity)
else:
return render_template('index.html', temp='N/A', hum='N/A')
@app.route('/relay/<state>')
def relay(state):
if state == 'on':
GPIO.output(RELAY_PIN, GPIO.HIGH)
else:
GPIO.output(RELAY_PIN, GPIO.LOW)
return 'Relay ' + state
if __name__ == '__main__':
app.run(host='0.0.0.0', port=80)
3. Setting Up the Control Interface
For both Arduino and Raspberry Pi:
1. Create a simple HTML web page that allows users to view sensor data and control the relay.
Example HTML Template:
<!DOCTYPE html>
<html>
<head>
<title>Smart Home Automation</title>
</head>
<body>
<h1>Smart Home Automation</h1>
<p>Temperature: {{ temp }} *C</p>
<p>Humidity: {{ hum }} %</p>
<button onclick="window.location.href='/relay/on'">Turn Relay ON</button>
<button onclick="window.location.href='/relay/off'">Turn Relay OFF</button>
</body>
</html>
This HTML page should be placed in the appropriate directory for the Flask server on the Raspberry Pi or served by the Arduino web server.
Conclusion
This project can be expanded with additional sensors, more relays, and a more sophisticated web interface. You can add features such as data logging, mobile notifications, and integration with voice assistants like Amazon Alexa or Google Assistant.
